Duckdns (part 2)

With the knowledge we have gained in the previous lessons, we’ll now setup a script to make sure the IP address of your internet connections is automatically updated to DuckDNS so you can also access your Raspberry Pi when your provider decides to change your IP address.

For this we found a nice article during the third online lesson, which can be found here.

The short version is as follows:

mkdir duckdns
cd duckdns
nano duck.sh

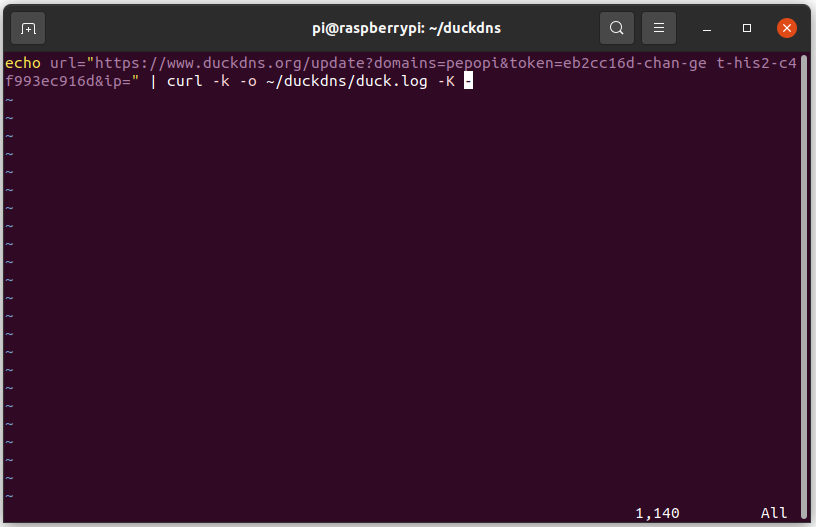
enter the following line and edit both the domain (the part you choose before .duckdns.org) and the token (which you can find when you log into DuckDNS at the top.)

echo url="https://www.duckdns.org/update?domains=[YOUR_DOMAIN]&token=[YOUR_TOKEN]&ip=" | curl -k -o ~/duckdns/duck.log -K -

Than change the access rights to the file and edit crontab, which is a job scheduler that in this case run the script we just made every 5 minutes.

chmod 700 duck.sh
crontab -e

Add the following line at the bottom

*/5 * * * * ~/duckdns/duck.sh >/dev/null 2>&1

Than test the script, check the log and start cron so from now on you will not have to remember to update your IP address.

./duck.sh
cat duck.log
sudo service cron start
Edit a file

Back in the old days, the geek ‘holy war’ was between the two editors emacs and vi. For some reason I was introduced to vi and after I got the basics down, the only thing I have done was install the improved version, vim.

More recent a new contender entered the market. With Ubuntu straightening the road to Linux for the not so geeky users, there seemed to be a need for a friendlier editor: nano. I have little experience with the editor and still get confused when I edit something on the command line with it.

On Raspberry OS you will have access to both nano and vi by default, as I am more familiar with vi, I will show you this editor, if you prefer nano, be my guest. To me, one of the beauties of Linux is the freedom of choice. To make you navigation a bit more intuitive you might want to use apt to install vim

vi basics

CommandExplanation
vi <filename>Open a file for editing
<arrow keys>navigate through the document
iinsert mode, needed to edit the document
ESCnormal mode
:wwrite
:qexit (after saving or when no changes are made
:q!exit, discarding changes
uundo last change

Applications, the basics

Raspberry OS is part of the Debian linux family, so you can install applications and packages with the apt command. As this changes something on your system, you need to be either a privileged user or use the sudo command. Here is an example of a package install:

sudo atp install cmatrix

If it is a single package, the installer will automatically install it. If there are dependencies, you will first get an overview of what will be installed and you are asked to confirm. If you know you want to install the package plus dependencies you can use the -y argument after apt

Now the package has been installed you can run it by typing:

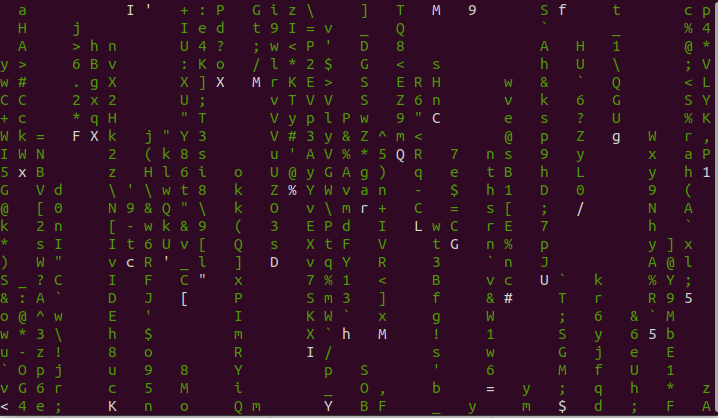
cmatrix

As you might find out, the package runs in the terminal and you do not have access to the terminal until you stop the package. This can be done by using the <ctrl/cmd>+<c> key combination.
To find out which options/arguments you can use running a program you can request the help option:

cmatrix --help or cmatrix -h

Here you get a quick overview of the arguments you can use to run the command. If the list is long you can scroll up by using <shift>+<PgUp/PgDn> (or your mouse).
If you want more information on how to use the command, you can also use the man command:

man cmatrix

Here you can scroll with the arrow up/down. To close the manual you press <q>

Now, let’s find out a bit more about the system we have installed. For this install neofetch and try to change the logo to the ubuntu logo:

sudo apt install neofetch

Where am I – Basic CLI

The Linux command line is powerful, but it might take a bit getting used to. In this lesson we start with some navigation and we’ll play with some files. Fun fact, a lot of these commands also work on the Mac command line.

In general when you login into a machine through SSH you’ll end up in the home directory of a user. In this case /home/pi but than. Here is a list of commands and a short explanation of their use.
Now that you have access to the command line, you can give them a try. We’ll get back to them later on in more detail.

CommandExplanation
lslist, show the content of the directory. Similar to dir in Windows
cdchange directory
clearclear the output on the screen
mkdirmake directory
rmdirremove empty directory
touchcreate file
rm remove file or not empty directory
cpcopy
mvmove
manmanual, works on all commands

When you are familiar with these basic commands, you can check out the following.

CommandExplanation
catdisplay content of a file
echoadd text to a file – compare > and >>
dfshow available/used disk space
du disk usage, show how the directory is build up
hostnameto find out the name of the machine
unamefind information about system, like distro, kernel, processor
sudosuper user do, in front of a command to have root privileges
aptdebian family packate manager
chmodchange access rights
chownchange owner/group
tar(un)pack tarball archives
unzipunpack zip archives

You can use your arrow keys (up and down) to go to to previous typed command, which saves typing.