
With the knowledge we have gained in the previous lessons, we’ll now setup a script to make sure the IP address of your internet connections is automatically updated to DuckDNS so you can also access your Raspberry Pi when your provider decides to change your IP address.
For this we found a nice article during the third online lesson, which can be found here.
The short version is as follows:
mkdir duckdns
cd duckdns
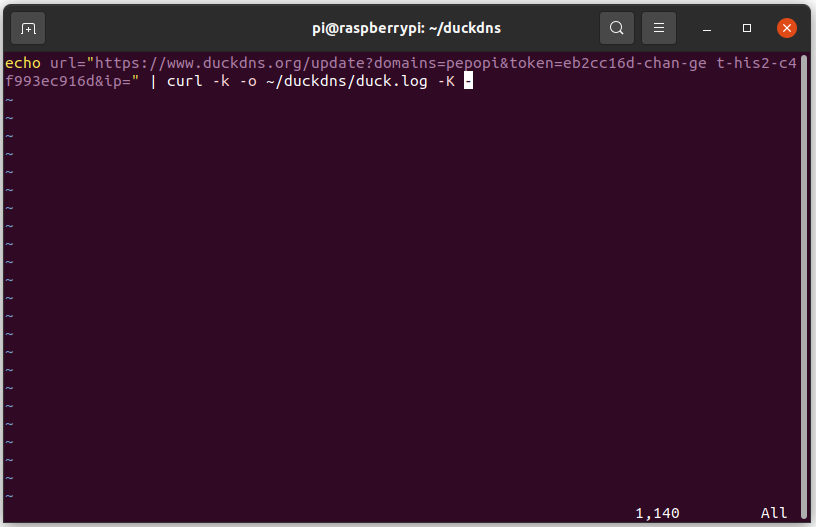
nano duck.shenter the following line and edit both the domain (the part you choose before .duckdns.org) and the token (which you can find when you log into DuckDNS at the top.)
echo url="https://www.duckdns.org/update?domains=[YOUR_DOMAIN]&token=[YOUR_TOKEN]&ip=" | curl -k -o ~/duckdns/duck.log -K -Than change the access rights to the file and edit crontab, which is a job scheduler that in this case run the script we just made every 5 minutes.
chmod 700 duck.sh
crontab -e
Add the following line at the bottom
*/5 * * * * ~/duckdns/duck.sh >/dev/null 2>&1Than test the script, check the log and start cron so from now on you will not have to remember to update your IP address.
./duck.sh
cat duck.log
sudo service cron start