
wiser.pepoweb.com was started to share my Linux knowledge with some coworkers. It is the central place to keep track of the lessons we create together.
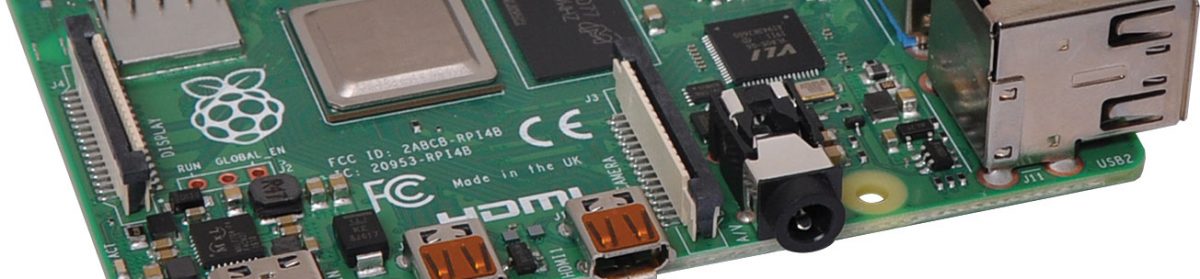
We start with a Raspberry Pi 4 and raspbian and go from there.
So as there are enough manuals on the internet with a step by step how to on installing an OS on a Pi, I am not going to bore you with yet another write out. I’ll just list the steps to create a headless setup, so we don’t need additional hardware and wires, except for a network wire. If you need additional information you can follow the link at the bottom.
- Download the Raspberry Pi imager from https://www.raspberrypi.com/software/
- Run the imager on a computer with an SD card reader
- Pick the OS you want to install (other light)
- Pick the SD card you want to install it on
- Press Write
! You can easily enable SSH by pressing Ctrl (Cmd) + Shift + x and enable SSH before hitting the Write button.
! Here you can also setup Wifi, if you are not using a wired connection.
- Once done, create an empty file in the boot partition called ssh
- Put the SD card in the Pi, connect it with a network cable to your router and power it up.
- Get the IP address of the pi by one of these options:
- ping raspberrypi.local
- from the DHCP table in your router
- A 3rd party tools to find out the IP
- nmap on Linux/Mac works well
- A scanner like https://angryip.org/
- SSH into your Pi using: ssh pi@<ipaddress> the default password is raspberry
Welcome to the Linux command line 🙂
Now the first thing you want to do is change the default password. Type passwd and then enter the default password and two times a new password you create.